Introduce Postcode
Introduce your Postcode
Tell us where you are
- Check stock availability
- Know your delivery options
- Get faster checkout
- Track your order
12 May 2022
By
megan
0 comment(s)
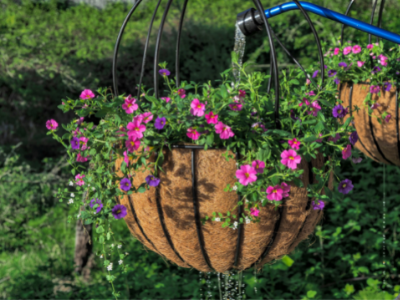
Hanging baskets are a fantastic way to brighten up your garden or outdoor space without needing acres of land or planting space. They provide a brilliant way to add colour to otherwise dull walls and fences and are fantastic for brightening up patios and door entrances. Whether you want to create vibrant floral displays, herb gardens, or delicious fruit baskets, we’re here to help you with this handy guide.
Choosing the right plants is key when it comes to planning your hanging baskets. A few questions you should consider are; What time of the year will the plants be in flower? Do I want trailing plants? What colours go well together? If you’re wanting your baskets on display during the Summer months then you’ll need to fill them with summer bedding plants from late April, whereas if the baskets are for Winter then they’ll need to be filled with hardy plants between September and October.
Best Plants for Summer baskets
Argyranthemum, Lysimachia (creeping jenny), Dichondra ‘Silver Falls’, Fuchsia, Pelargonium (geraniums), Lobelia, Viola (pansies), Petunia, Salvia and Nicotiana (tobacco plants), Begonia x tuberhybrida, Bacopa, Calibrachoa, Osteospermum, Nasturtiums, Verbena
Best Trailing Plants for Summer baskets
Calibrachoa (million bells), Lobelia, Bacopa, Fuschia, Begonia, Verbena, Petunia, Tomatoes, Strawberries, Creeping Jenny, Trailing Geraniums, Training Pansies.
Best Plants for Winter baskets
Buxus (Box), Crocus, Gaultheria, Iris reticulata cultivars, Hedera (ivy) – either variegated or plain, Carex (ornamental sedge), Primula (primulas and polyanthus), Cyclamen (small-flowered cyclamen), Viola (winter pansies and viola) and Erica carnea (winter-flowering heathers).
How to Plant a Hanging Basket
Planting a hanging basket isn’t do dissimilar to planting a regular container. However because they are often shallower than standing pots, and are placed in different locations, they have slightly different needs. Below are the main tips to get you started.
1. Line your basket

These are the most common liners for hanging baskets which have various advantages and disadvantages.
- Sphagnum moss is attractive as it’s natural looking but can be tedious to work with and offers limited water-holding capacity.
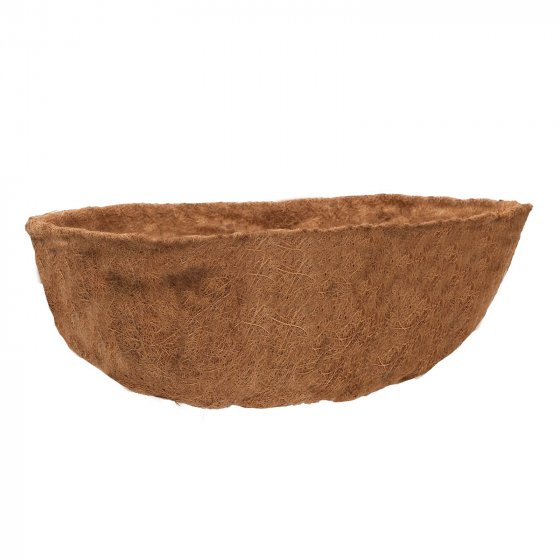
- Cocoa liners are nice looking throughout the growing season, but they are thick, which makes it more difficult to plant through the sides.
- Burlap liners are treated with copper to slow degradation. However they are thin and bit unattractive, they also don’t retain much water.
- Supamoss is fairly new in the gardening world and is nice and versatile as it looks nice and has good watering retention qualities. It is made of dyed, recycled cotton fibers that are sewn to thin green plastic sheeting. The tiny needle holes allow for water to drain, whilst the plastic membrane conserves the majority of the water for the plants. It is easy to poke holes into this material for planting, and the green, mossy look makes it look aesthetically pleasing.
2. Fill with compost
Fill your basket with the compost mix about two-thirds of the way. It’s important to keep plants well-fed, so give your compost a boost of liquid plant food, such as tomato fertilizer, at this stage.
3. Start inserting your plants
When arranging the plants in your basket, the best way to start is to decide on one central plant, to set the structure for your basket design.
Around this central plant, you can start to position some trailing plants to cover the sides of the basket, particularly if it is made from wire. Along with this selection, it is worth having a think about the types of flowering plants you want to include. Choose colours that complement each other and plants that flower reliably.
4. Finishing touches
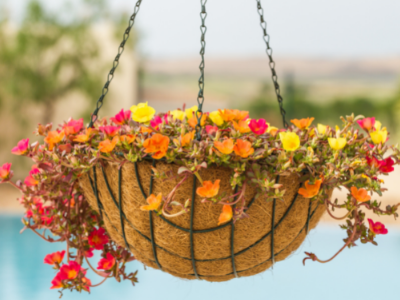
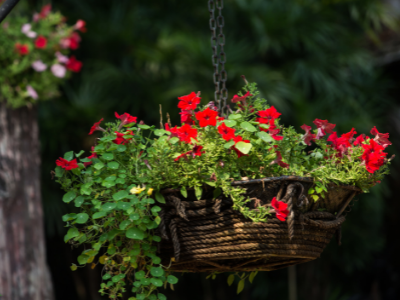
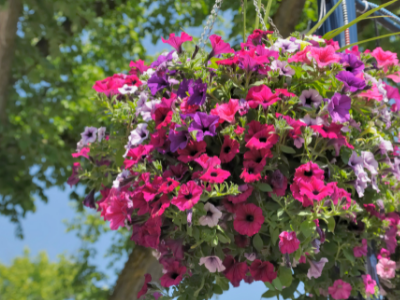
Once all your plants are in, gently pat down your compost to ensure it’s firm and there are no gaps. Then slowly water and add plant food depending on whether it’s required. Once you’ve hung up your basket, remember to water regularly when the soil feels dry to keep them looking healthy. Check out some inspiration below.